Repairing a Moen Pressure-Balanced Shower Valve
The most common issue with a malfunctioning Moen pressure-balanced shower valve is with the cartridge inside the faucet. The cartridge is meant to house the valves which manage the water pressure of the shower stream. If you’re experiencing a leak near the handle or a loss of control over the water heat, the cartridge is the likely culprit. With the right parts, this issue can be solved in under half an hour.
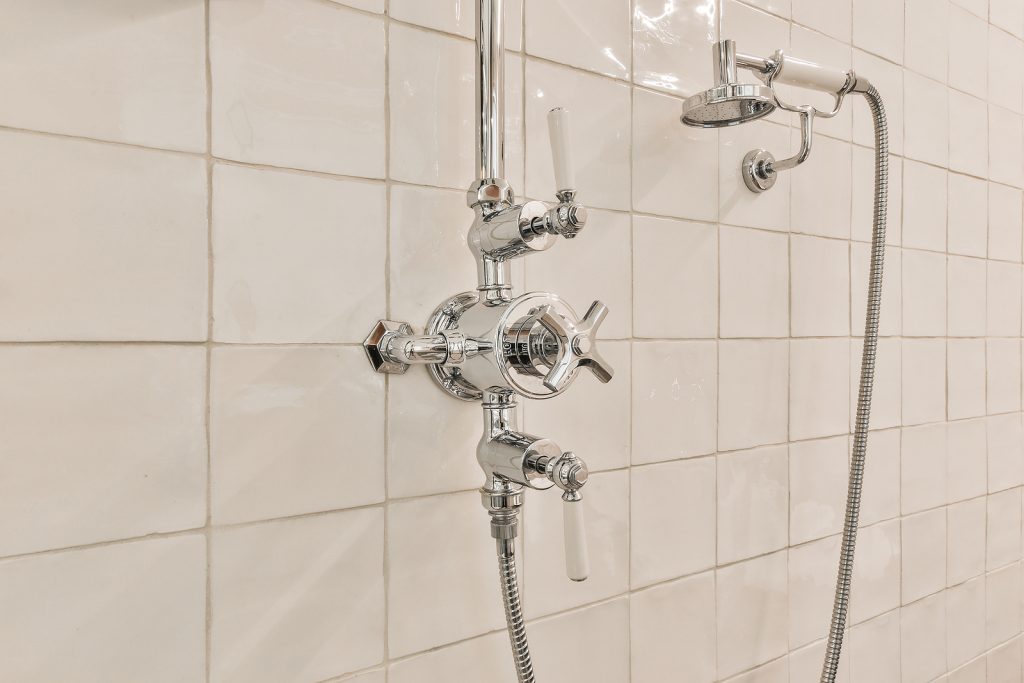
In order to fix the pressure-balance, you will need to safely remove the faucet, take apart the internal mechanism, replace the cartridge, and put it all back together.
What Tools/Materials Are Needed?
- A new shower cartridge
- Silicone grease
- A Phillips screwdriver
- An Allen wrench
- Needle-nose pliers
- A rag
Additionally, you could buy a Moen cartridge puller to make extracting the faulty cartridge easier, but so long as you have patience, the pliers, and the plastic adapter that comes with the new cartridge, the brand name puller isn’t necessary.
Before You Remove the Faucet
After assembling all the tools and materials, there are a few safety precautions that must be taken.
- Shutoff the water supply to the shower being fixed. If there is a specific shutoff valve for the faucet or showerhead just use that, otherwise shutoff the supply to the whole house and drain the water still in the pipes.
- Drain out the water. Be sure to use the lowest faucet in your home. Doing this will prevent any mess or hot water accidents while replacing the cartridge.
Taking the Faucet Apart
Now you’re ready to disassemble the faucet! Here is a step-by-step guide to help you in doing this at home. If you’d rather let our professionals repair your Moen shower valve for you, schedule an appointment by calling (808) 691-9309 Oahu, (808) 400-8811 Hawaii Island.
- Use the rag to stuff the drain. Great care must be taken to not lose any piece of the faucet, since everything except the broken cartridge will be needed for reassembly.
- Use the Allen wrench to remove the screw attaching the handle to the faucet, and then pull the handle off to reveal the inner assembly.
- There should be a piece of black plastic with a screw at its center. This is the adapter for the handle. Using the screwdriver, remove the adapter by unscrewing its center.
- Carefully pull it off, and then be ready to pull off a chromium sleeve. There may also be a piece of white plastic which is an optional temperature limit. If you see it, pull this off too.
- After the chromium sleeve is off, the clip holding the cartridge in its place will be visible.
- If you have a Moen cartridge puller, follow it’s instructions to remove the cartridge.
- If you don’t have the cartridge puller, take the plastic adapter from the new cartridge, fit it onto the stem of the broken cartridge, then use the pliers to grip the adapter and pull out the broken cartridge.
Now that we’ve taken everything out, it’s time to fix the issue and put it all back together.
Reassembling the Valve and Faucet
After you remove the malfunctioning piece, look inside the valve body to see if it’s clean and free of obstructions. Lubricate the rubber part of the replacement cartridge with the silicone grease and insert it into the valve body as far as it will go. If there is an ‘H C’ label on the cartridge, adjust so that it’s on top.
Replace the cartridge retaining clip. Make sure it is fully seated against the valve body, but do not force it back on. Replace the chromium sleeve, plastic parts, and handle as you found them, then secure them with the set screw.
Turn the water supply back on and test your work.
If you have a plumbing issue and just want to feel comfortable in your home, contact Emergency Plumbing & Solar at (808) 691-9309 Oahu, (808) 400-8811 Hawaii Island for affordable, around the clock service anywhere on Oahu.