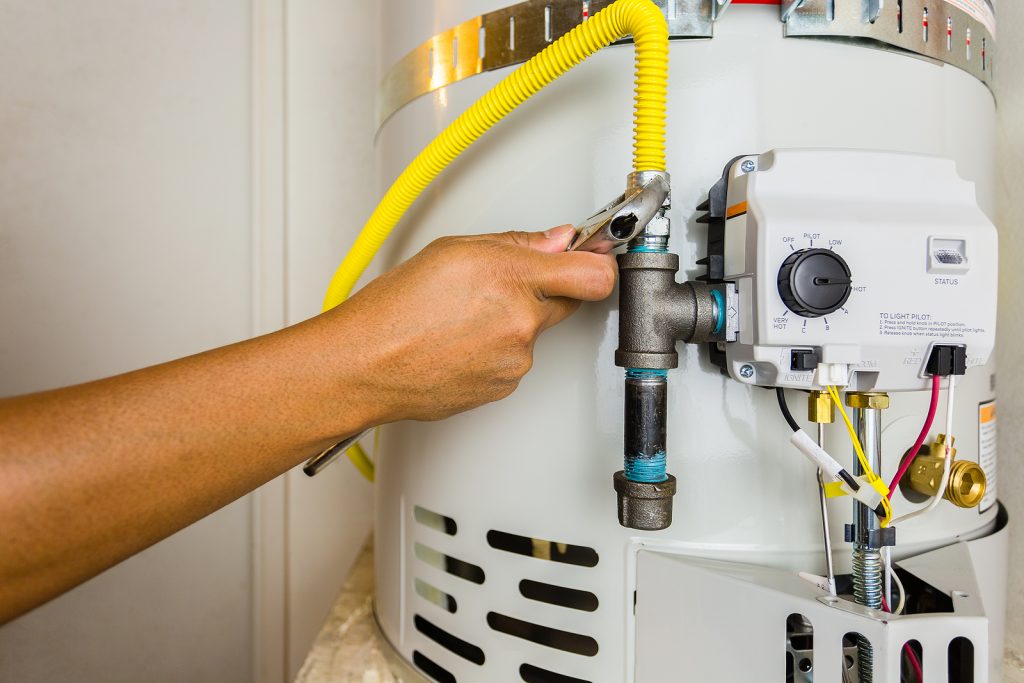
Maintaining Your Home’s Water Heater
Taking care of your water heater is simpler than you think, and it could mean the difference between it lasting 10 years or 15 years.

Assuming you have a tank-based water heater, you can follow this guide to perform some basic maintenance. This should ideally be done on a yearly basis, and can be done with just the following tools (plus some extra materials discussed below):
- A hose
- A large bucket
- A pipe wrench
- A socket wrench
DIY Water Heater Maintenance
The water heater must be shut off while you perform these maintenance measures, but you can manually open the cold water intake when you are flushing the tank. However the first step is to check if you need a new Temperature-Pressure-Release valve.
You can test the TPR valve, attached to a pipe that aims down to the ground, by lifting its tab to open it. If water keeps flowing through even after you’ve let go of the tab, then it needs to be replace.
Next, you should test for corrosion and sediment buildup. Over time, particles in the water can accumulate on the bottom of the tank. You can use the hose and bucket to flush the water heater out from its drain cock multiple times, effectively rinsing it.
Now you can use the pipe wrench to unfasten the anode rode from the top of the tank to see if it needs to be replaced. It should be at least a half inch in diameter and free from calcium buildup. You should replace it if it does not meet these standards.
Remember to close the drain cock and refill the tank before turning it on again.
As a bonus, you can also add insulation around your pipes or around your water heater itself. If done right, this will translate into energy savings and increased efficiency.
Professional Water Heater Maintenance
If you do not feel like going to the trouble of the previous section, then don’t worry! There are plenty of pros out there who would love to help you.
When it comes to professionals, look no further than EPS Hawaii. Call us at (808) 691-9309 Oahu, (808) 400-8811 Hawaii Island.


